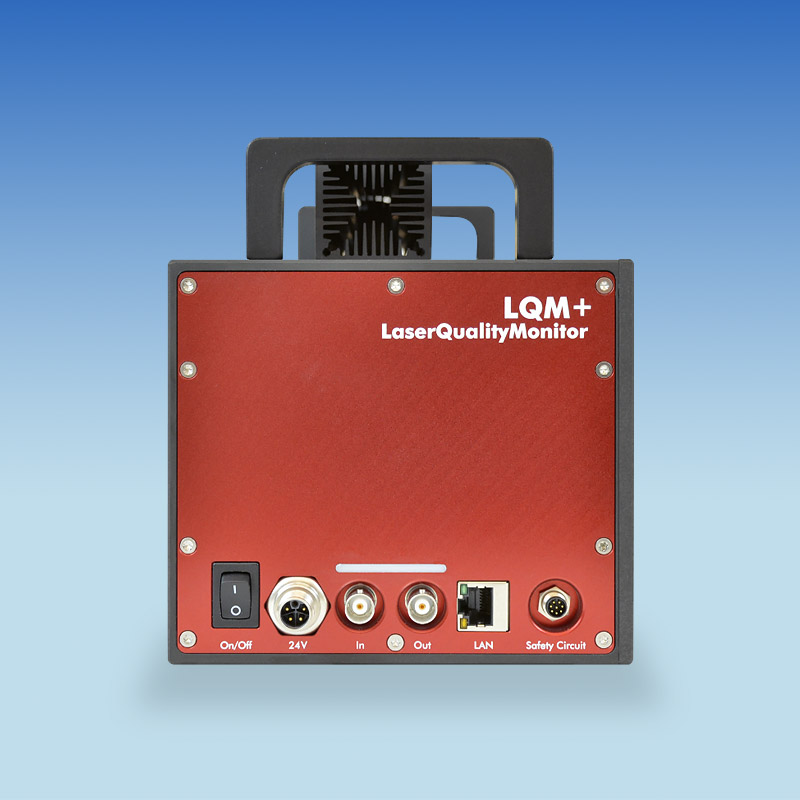
The PRIMES LaserQualityMonitor LQM+ quickly and automatically characterizes the beam parameters of a beam source. The measuring system is compact, easy to align and can be expanded to meet individual requirements.
Determine Beam Propagations, Analyze Faults
With the LQM+ PRIMES offers an integrated solution for the quick and straightforward analysis of the beam properties of a beam source. The beam propagation of lasers from the UV to NIR range are characterized and certified with this measuring system. Furthermore, errors in the optical structure of resonators of beam imaging systems can easily be analyzed.

Overview
The characterization of a collimated laser beam with Rayleigh lengths that are typically ten meters requires a significant measurement effort due to the very long measurement ranges of three to six Rayleigh lengths. This form of measurement is normally impossible for reasons of space. For this reason ISO 11146 recommends, in the alternative, the measurement of a caustic generated by focusing in order to determine the diffraction index M2.
The LQM+ generates this device-internal caustic by focusing the irradiated collimated laser beam. The focused beam is displayed enlarged on the CCD chip via several integrated attenuators and a lens. From the two-dimensional power density distribution measured in this way, the LaserDiagnoseSoftware (LDS) determines the radius, position and orientation of the beam. Through the procedures of this measurement system, and repetition of the measurement at various positions in the device, all parameters necessary for the description of the artificial caustic are determined. The electronic exposure time control of the CCD chip expands the dynamic range of the system. This means that in general it is not necessary to alter the filters during a measurement.
Due to the laser beam being thus focused and characterized, the measurement can be shortened from several meters to a few millimeters. The M2 value can be easily determined in this fashion, since it is ensured that the optics used for focusing do not generate imaging errors which influence the beam to be measured. The values of the beam parameters of the focused laser beam are calculated back to the values of the collimated beam in accordance with ISO 11146.
Measurement
-
- Beam waist diameter / beam dimensions
- Waist position / focal position with reference to the beam entry into the LQM
- Beam radius
- Far field divergence
- Rayleigh length
- Divergence
- Beam propagation factor k
- Diffraction index M2
Uses
For the operation of the LQM+, two alternatives are available:
- The PC-based LaserDiagnoseSoftware (LDS) makes it possible to measure the beam distribution manually and semi-automatically and to determine the beam position and beam dimensions
- Scripts control the LQM+ semi-automatically, for example for repetitive measurement problems in servicing, quality assurance and acceptance inspection. They are individually adapted to the measurement process at hand. Advantage: Through programmed user guidance, the requirements for operating the LQM+ can be significantly reduced
Data is transferred to the PC via Ethernet (100 MBit).
Models and options
- Power measurement on the absorber
- Crimp holders for collimators with 35, 40 and 50 mm outer diameter
- Collimator with 67 mm focal length up to 6 kW and fiber connectors LLK-D and QBH
- Measurement optics 1:1 and 5:1
- Wavelength range 1030 – 1090, 515 – 545 and 340 – 360 nm
- Neutral density glass filters OD1, OD2, OD3, OD4, OD5
