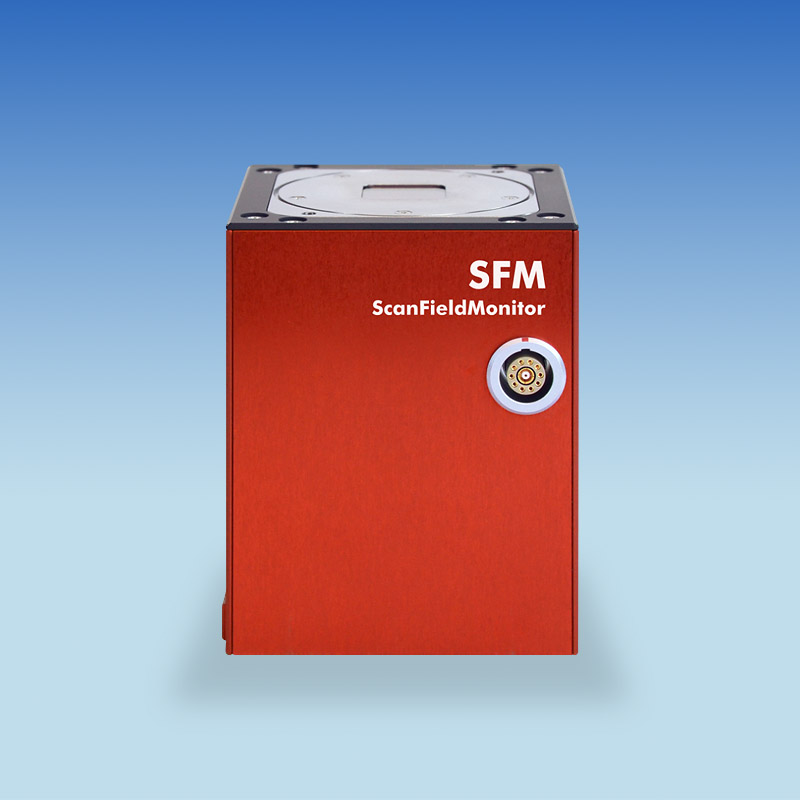
Know everything about your production parameters in less than 3 seconds with the PRIMES ScanFieldMonitor (SFM). The handheld ScanFieldMonitor features an innovative measuring principle tailored specifically for additive manufacturing processes, and its small glass structure and compact design make it perfect for laser beam diagnostics and process optimization.

Overview
A piece of glass with a specific measuring structure is what distinguishes the innovation of the PRIMES ScanFieldMonitor (SFM). A photo diode captures the scattered light while scanning the laser beam over this structure and uses this information for fast laser beam characterization. Not only will it tell you the width of the beam on the measuring plane, but it will also allow you to reconstruct the path, position, and length of the beam and determine its speed of movement.
Complex relations such as pincushion distortion, the merging of overlapping scanning fields, and delays in laser activation and deactivation can be analyzed using special measuring schemes. This can be used to synchronize the laser with its scan unit. Using the 3D machine construction platform to move along the z-axis makes it possible to measure the caustic and determine the evenness of the plane. And ScanFieldMonitor is small enough to be placed just about anywhere over the working area.
Measurements
The ScanFieldMonitor meets the demands of scanner specific measuring tasks, including aspects such as surface evenness, pincushion distortion, focal point shift, or precision of the position and marking speed. The device operates by detecting the scattered laser light on a structured glass plate and is therefore independent of the optical power. This makes it possible to reconstruct the travel path taken by the light and calculate the beam width at multiple positions across the working area. All of the variables mentioned above can be measured with high resolution and reproducibility.
Benefits
- Access to relevant process parameters outside the range of conventional beam diagnostics devices, such as marking speed or beam analysis in various positions on the structural panel.
- Combining separate applications for various calibration tasks into a single device cuts down on investments,
complexity and work time. - Measurements can be taken under actual operating conditions for laser sintering: laser power and inert
gas atmosphere. - A compact, powerful service tool suitable for comprehensive on-site scanner analysis.
